Guides
Diagrams in Backstage
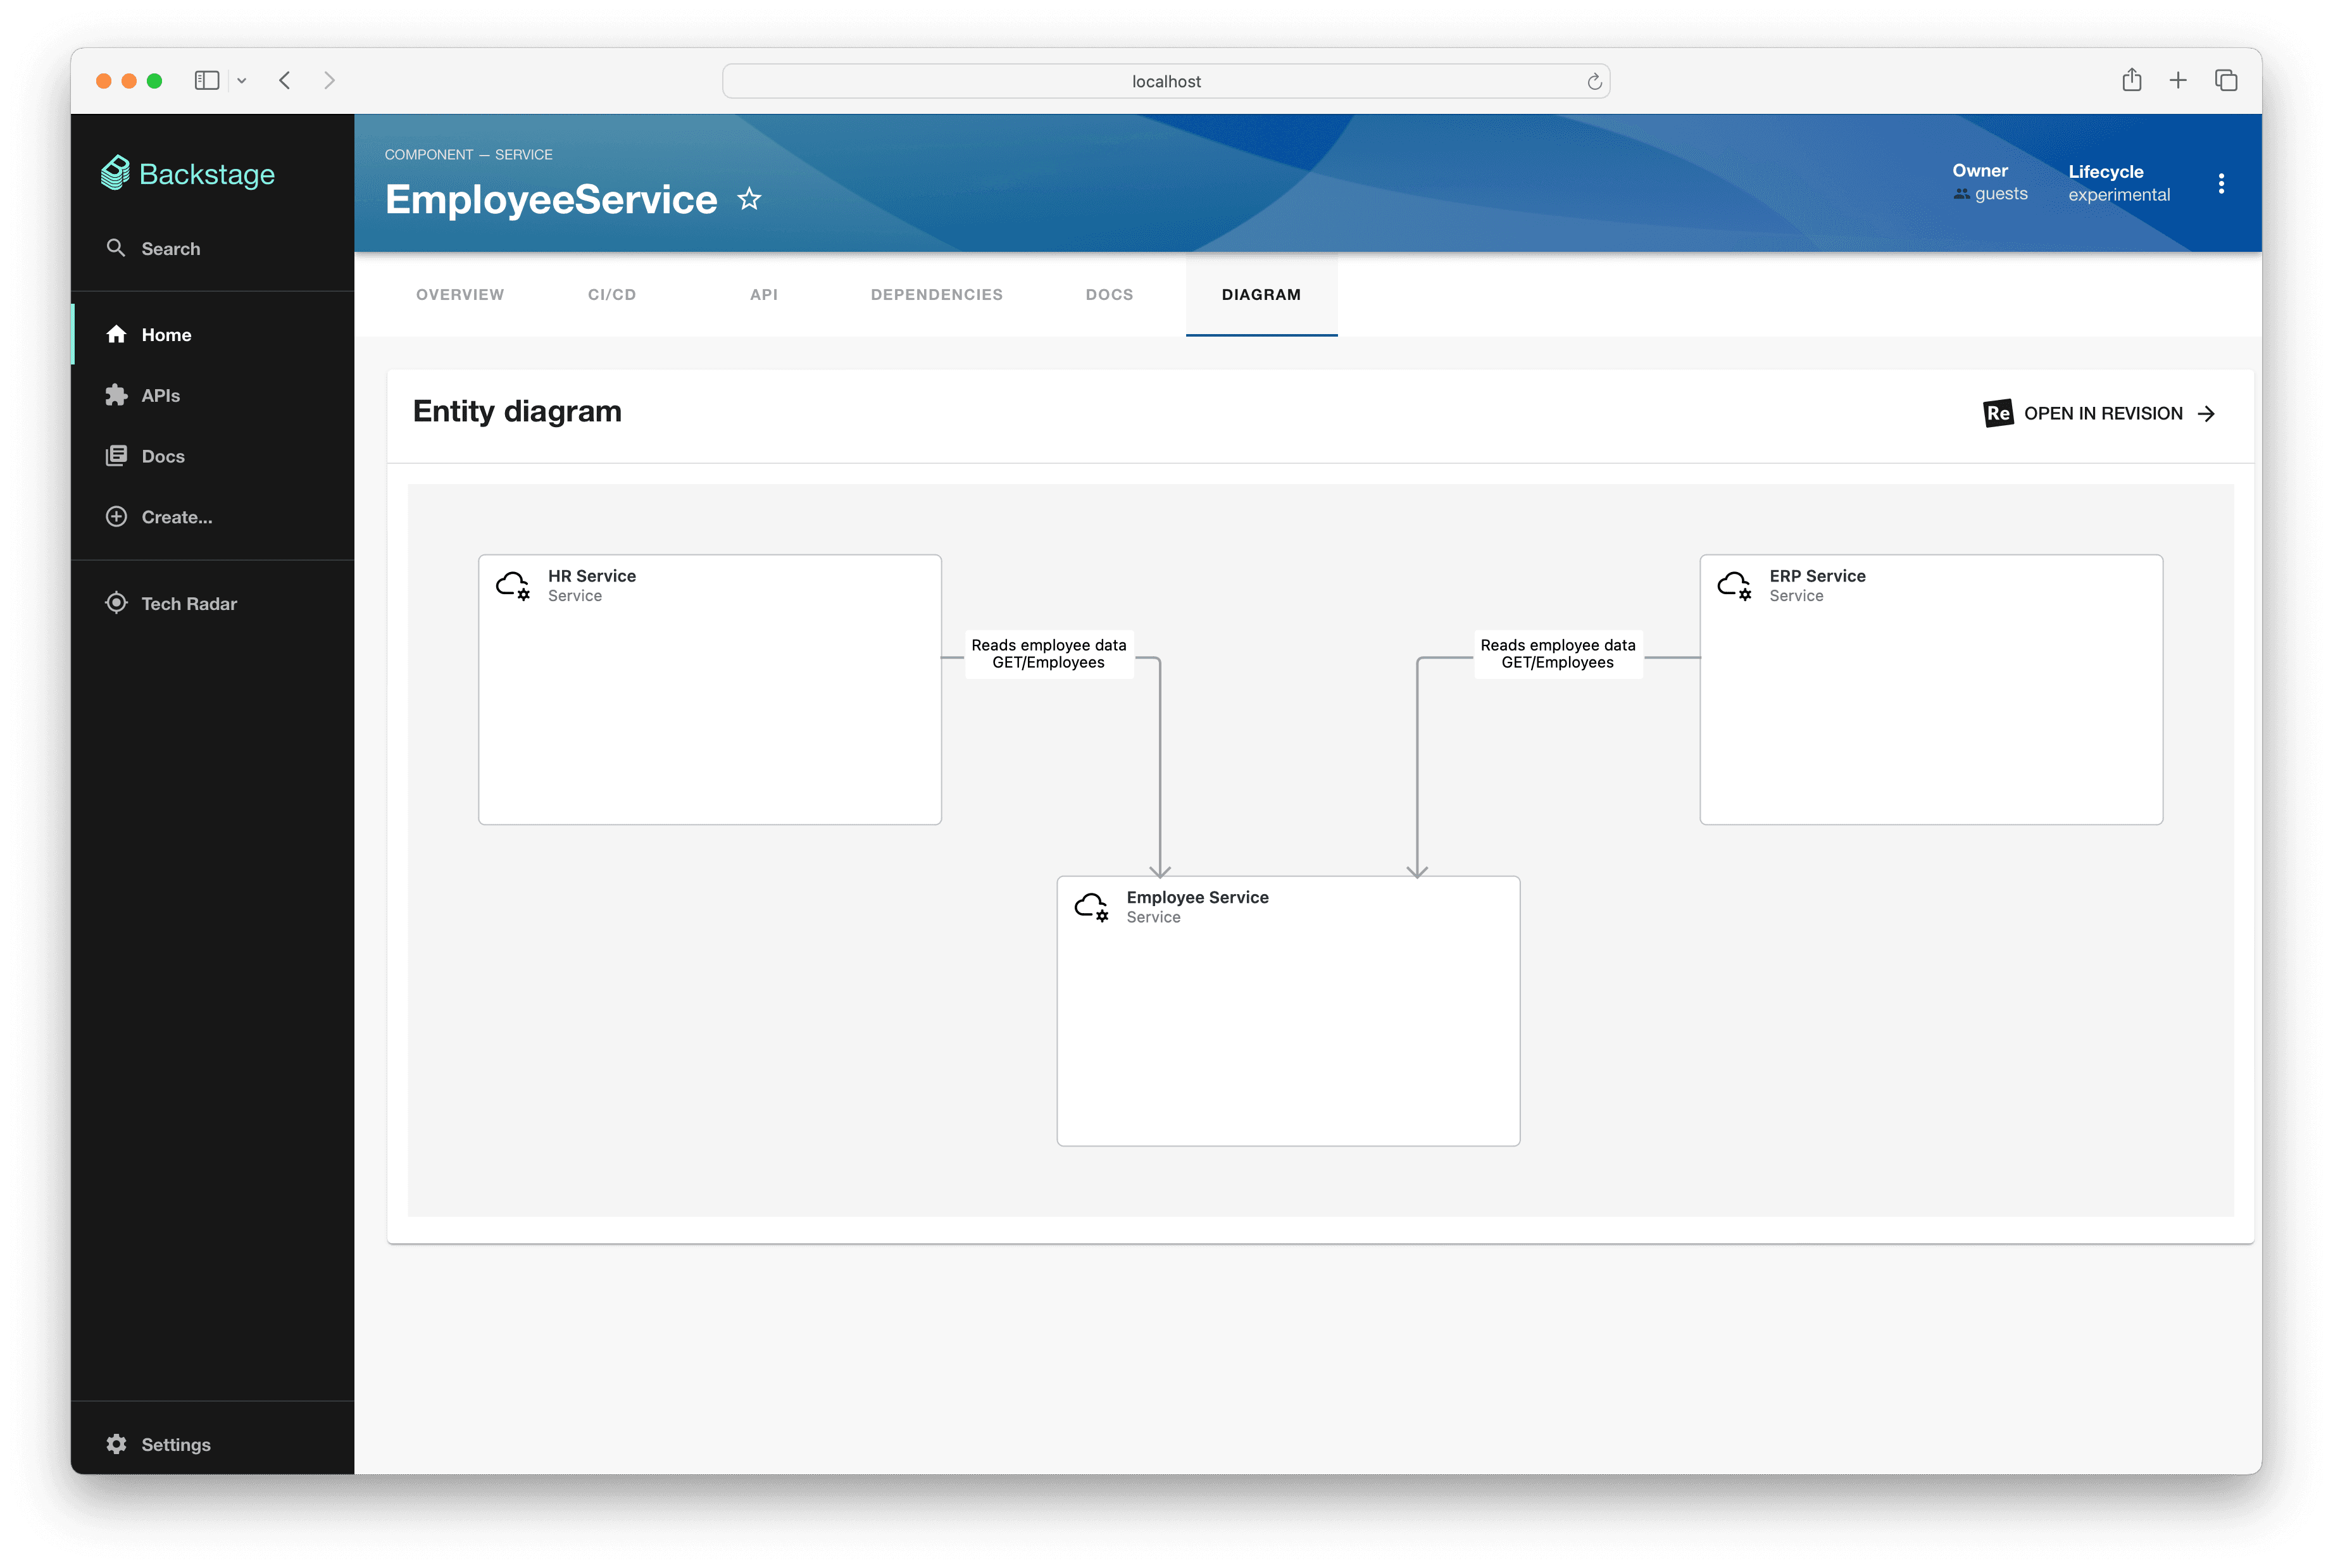
You can integrate Revision diagrams directly into your Backstage instances using our Backstage plugin.
Installation
-
First, install the Revision plugin:
# From your Backstage root directory yarn add --cwd packages/app @revisionapp/backstage-revision-plugin -
Then, add the
EntityRevisionContentcomponent as anEntityLayoutroute on theEntityPage:// packages/app/src/components/catalog/EntityPage.tsx import { EntityRevisionContent } from "@revisionapp/backstage-revision-plugin"; const serviceEntityPage = ( <EntityLayout> // ... <EntityLayout.Route path="/revision-diagram" title="Diagram"> <EntityRevisionContent /> </EntityLayout.Route> // ... </EntityLayout> );
Configuration
-
Set up the necessary configuration, including both proxy settings and your Revision base URL in your app config:
# app-config.yaml proxy: endpoints: "/revision": target: https://<your-workspace>.revision.app headers: Authorization: "Bearer ${REVISION_API_KEY}" revision: baseUrl: https://<your-workspace>.revision.app -
Set an Revision API key, which you can create on your account page in Revision, as an environmental variable called
REVISION_API_KEY.
Usage
-
Add a
revision.app/diagram-slugannotation to your catalog info file:# catalog-info.yaml apiVersion: backstage.io/v1alpha1 kind: Component metadata: name: backstage description: | Backstage is an open-source developer portal that puts the developer experience first. annotations: revision.app/diagram-slug: YOUR_DIAGRAM_SLUG # e.g. TyY5fbQU9D3S spec: type: library owner: CNCF lifecycle: experimentalThis is the slug that determines which diagram should be shown. You can find it in the diagram's URL, or using the Revision API.